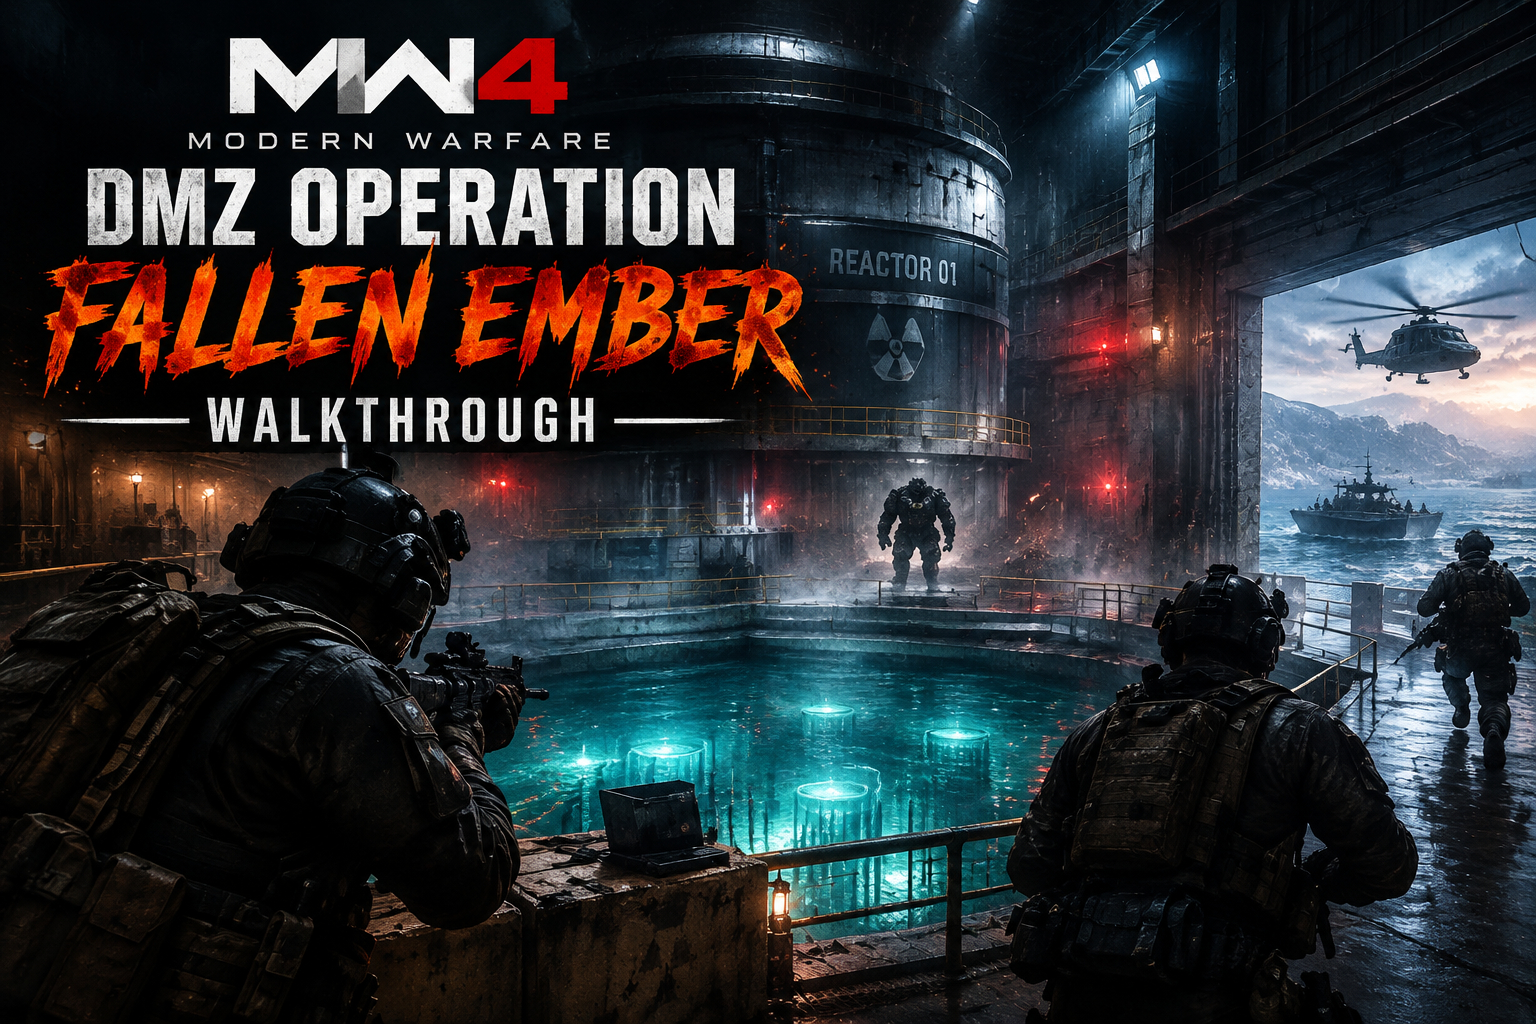
Operation Fallen Ember is the current final Story Mission on the Modern Warfare 4 DMZ progression path. The mission takes place at the Haneul Nuclear Reactor and combines radiation management, a multi-stage fuel rod puzzle, Reactor 02 decontamination, a heavy combat encounter, and a timed boat escape. A cheap Bot Lobby MW4 setup may help with weapon practice, but Fallen Ember demands much more than accurate shooting.
The mission is rated Extreme, so preparation matters before entering the reactor compound. You need enough radiation protection to work inside the flooded reactor areas, enough ammunition to handle reinforcements, and enough inventory space for mission-related items. The mission currently follows Operation Iron Citadel and Operation Grid Assault in the Story Mission progression.
1. Prepare for the Haneul Nuclear Reactor
Radiation is one of the biggest threats during Fallen Ember. Several objectives require you to work around contaminated areas, so entering with only basic combat supplies can leave the squad unable to finish the mission.
Before deployment, prioritize the following:
- A strong armor setup
- A Medkit or other reliable healing supply
- At least one Gas Mask
- Radiation Blockers
- Enough ammunition for sustained fights
- Sufficient backpack space for mission items
- A weapon that remains effective at medium range
Radiation protection is especially important once you begin working with the fuel rods. Keep track of your protection instead of waiting until the radiation effect becomes severe. If your squad has multiple players, coordinating who handles the reactor console and who enters the flooded pool can also make the fuel rod section much easier.
2. Reach Haneul Nuclear Reactor and Enter Reactor 01
The mission sends you toward the Haneul Nuclear Reactor in Hajin. After reaching the compound, deal with the surrounding enemies before spending too much time interacting with the reactor systems. Enemy pressure can become a problem once the reactor sequence begins.
Reactor 01 does not simply open through a normal entrance. Look for the damaged section of the reactor structure and use the available exterior route to reach the upper area. From there, interact with the reactor controls and use the Disengage Safety Lockdown control to gain access to the reactor section.
Do not waste time searching the compound for a supposed reactor entry key. The reactor entry sequence is based on the safety lockdown system rather than a conventional key requirement.
3. Start the Three Fuel Rod Sequence
The main puzzle inside Reactor 01 revolves around three fuel rods. The important detail is that the correct fuel rod location is not a fixed hatch that you can memorize for every deployment.
Start at the reactor console and initialize the first fuel rod. The console provides the current coordinate needed to identify the correct container inside the flooded pool. Take that information with you before entering the contaminated area.
The pool contains multiple circular fuel rod containers marked with letters and numbers. Match the coordinate shown by the reactor console with the corresponding location in the pool.
First Fuel Rod
After initializing the first rod, enter the flooded pool and locate the matching container. Interact with the correct hatch to retrieve the fuel rod.
If you interact with the wrong location, the game can display an INCORRECT ROD message. This is why memorizing a location from another run is unreliable. The console information for the current deployment is what matters.
A useful squad setup is to have one player monitor the reactor console while another searches the pool. The console player can provide the current coordinate while the second player focuses on locating the matching hatch.
Second and Third Fuel Rods
The next two rods require an additional release step. Return to the safety console and manually release the next fuel rod before attempting to collect it. Then initialize the rod from the reactor controls and check the pool again.
Repeat the same process for the third rod.
The sequence is consistent in its structure, but the active coordinate can change between runs. Treat every rod as a fresh search instead of assuming that the second or third location will always be in the same place.
Enemy reinforcements can also enter the reactor area during this section. Clear enemies when necessary, but avoid turning the entire pool area into an extended firefight. Completing the objective quickly reduces the amount of time the squad spends exposed to radiation.
4. Decontaminate All Three Fuel Rods in Reactor 02
Once all three fuel rods have been recovered, move to Reactor 02. This section changes the objective from recovery to processing.
Use the reactor system to begin PROCESS RADIOACTIVE MATERIAL. The decontamination sequence requires the squad to remain active around the processing area while enemies push into the room.
Keep the area under control while the process completes. Each successfully processed rod becomes Depleted Uranium – Clean, confirming that the decontamination stage has progressed.
This is a good point to check your armor, ammunition, healing items, and radiation protection. The mission becomes more combat-heavy after the reactor work, so entering the next stage with depleted supplies can make the Colossus encounter much harder.
5. Secure the Warhead and Defeat Commander Colossus
After the reactor objectives are complete, the mission moves toward the warhead. Expect another wave of enemies as you approach the objective area.
The major threat here is Commander Colossus, a heavily armored enemy that can absorb substantial punishment. Do not treat this encounter like a normal close-range firefight. Use solid cover and maintain enough distance to react to incoming attacks.
A practical approach is to keep the squad spread enough that one attack does not pressure everyone at the same time. Use sustained firearm damage while moving between safe positions, and avoid standing in open ground simply to maintain damage output.
Once the area is secure, continue the objective chain and make sure you pick up the Haneul Boat House Key. This key is required for the escape stage, so leaving the area without it can prevent the squad from progressing smoothly.
6. Open the Boat House and Prepare the Escape
With the Boat House Key secured, head toward the designated boat house and use it to progress the extraction sequence. The objective eventually changes to Raise Garage Door, opening the route needed for the patrol boat.
The final part of Fallen Ember is not simply a normal extraction. Your squad must rendezvous with the helicopter and then escort it until the mission confirms that it is safe.
Before starting the escape, reload your weapons and make sure everyone has enough ammunition. Assigning one player to focus on movement while another watches for enemies can also help keep the boat moving without unnecessary delays.
7. Keep the Patrol Boat Moving During the Chopper Escort
Once the boat sequence begins, the HUD objectives become Rendezvous with Chopper and Escort Chopper Until Safe.
Keep moving toward the objective instead of stopping every time an enemy appears. The patrol boat gives the squad a way to maintain momentum while dealing with threats, and stopping in an exposed position can create more problems than simply continuing along the route.
You may encounter a vehicle-disabling or DDOS-style event during the escape. Do not assume that temporary vehicle disruption means the mission has failed. Follow the active objective and continue the sequence unless the game explicitly reports a mission failure.
The important goal is to complete the escort objective. Once the mission registers Mission Complete, the Story Mission itself is finished.
8. Extract After Fallen Ember Is Complete
Completing the Story Mission and leaving the DMZ are separate parts of the overall run. Do not immediately assume that reaching the final objective means all extracted rewards have already been secured.
Once the game confirms mission completion, check your remaining equipment and decide whether to make a separate extraction attempt. If the squad is low on armor, ammunition, healing items, or radiation protection, there is little reason to take unnecessary fights after completing the mission.
The safest approach is to treat the post-mission extraction as its own objective. Preserve the squad rather than continuing to chase optional enemies or loot.
9. Fallen Ember Rewards
The Fallen Ember mission currently lists three major rewards:
- 25,000 DMZ Cash
- Reactor DRC Locker Key
- Cargo Plane
The Reactor DRC Locker Key can be used at the Reactor DRC Locker inside Haneul Nuclear Reactor. Because the locker is located in a hazardous reactor area, radiation protection is still relevant when you return to use the key.
The mission reward screen and the post-extraction cash breakdown do not always present cash in exactly the same way in player reports, so check the actual mission and extraction results rather than assuming every listed amount will appear as a single payout line.
10. A Reliable Fallen Ember Run
Fallen Ember becomes much easier when the squad treats each section as a separate objective rather than rushing through the entire mission.
Before deployment: Bring radiation protection, healing supplies, armor, ammunition, and enough backpack space.
At Reactor 01: Use the safety lockdown control and start the fuel rod sequence.
For each fuel rod: Read the current console coordinate, locate the matching pool container, and collect the correct rod. Do not rely on a fixed location from another run.
At Reactor 02: Process all three radioactive materials and defend the station until the decontamination sequence finishes.
At the warhead: Use cover against Commander Colossus, control the surrounding reinforcements, and collect the Haneul Boat House Key.
During the escape: Raise the garage door, rendezvous with the chopper, and keep the patrol boat moving until the escort objective is complete.
After Mission Complete: Make a separate extraction decision based on your remaining resources.
If repeated attempts are slowing down your overall MW4 progression, cheap MW4 Boosting can be considered as an optional shortcut, but it does not replace knowledge of the reactor puzzle or the escape sequence. For a normal squad run, the most reliable method is still to manage radiation carefully, communicate the changing fuel rod coordinates, control the Colossus fight from cover, and treat the final boat escort as a movement objective rather than a prolonged firefight.